As hard as it is to believe, today is the 101st Day of 2015 ... And, if that isn't crazy then I don't know what it. It is hard to believe that we are already four months into the "new" year.
Every new year I say I am going to stick to my "resolutions" or "goals" for the year and it is always around this time of the year that my plans start going south. You know-- I forget about them, bad habits return, etc. Like last year when I said I was going to start tweeting more. Yeah well by mid march I hadn't tweeted in 8 weeks. Whoops. I know that tweeting isn't really something that is going to improve myself by much, but one of the easier challenges I had on my list ... and yet the one that failed before any of the others!
So, now it is day 100 and I am trying to remember all those things I "wanted" to accomplish over the year. Surprisingly enough I have stayed on track with most things.
Thanks to my awesome work friends the "get healthier Brenna" is in full force. I had a couple weeks that were less than satisfactory, but we have all seemed to get back to it. Gym everyday after work, healthy lunches and fitness contest have kept us all pretty motivated. Thankful to have them all... even the ones that sign me up for things that seem a little on the crazy side! If I don't pass out from the fitness contest, I might write a blog post about that! haha
Business wise things are going great. My "Monthly Goals Sheets" are working well. Marking them off one by one. It's a slow process, but it is going well! Like a business bank account. Check. I mean it helps I work at a bank, but still! ;) As anyone with a fan page, I want to have lots of "likes!" However, I have come to the realization that numbers don't matter. Quality over quantity, right? I have such wonderful clients that I am so blessed to get to work with. And, I am constantly reminded of why I started this journey in the first place. I love capturing the little moments like constant laughter of little girls cracking up at their daddy, listening to the senior kids talk about the future and the smile of faces when they see moms see images of their babies for the first time. My business model is simple. Build relationships that matter-- that is the goal and the dream I have for not just my business, but my personal life too!

PSA-- Frilly Farm Girl also got an Instagram! So you can officially follow along with blog randomness at @frillyfarmgirl! I am also hoping to get back to do some crafty things like I did before. (You know like vinyl projects and earring making, but so far I haven't found a good way to balance that, photography and work!)
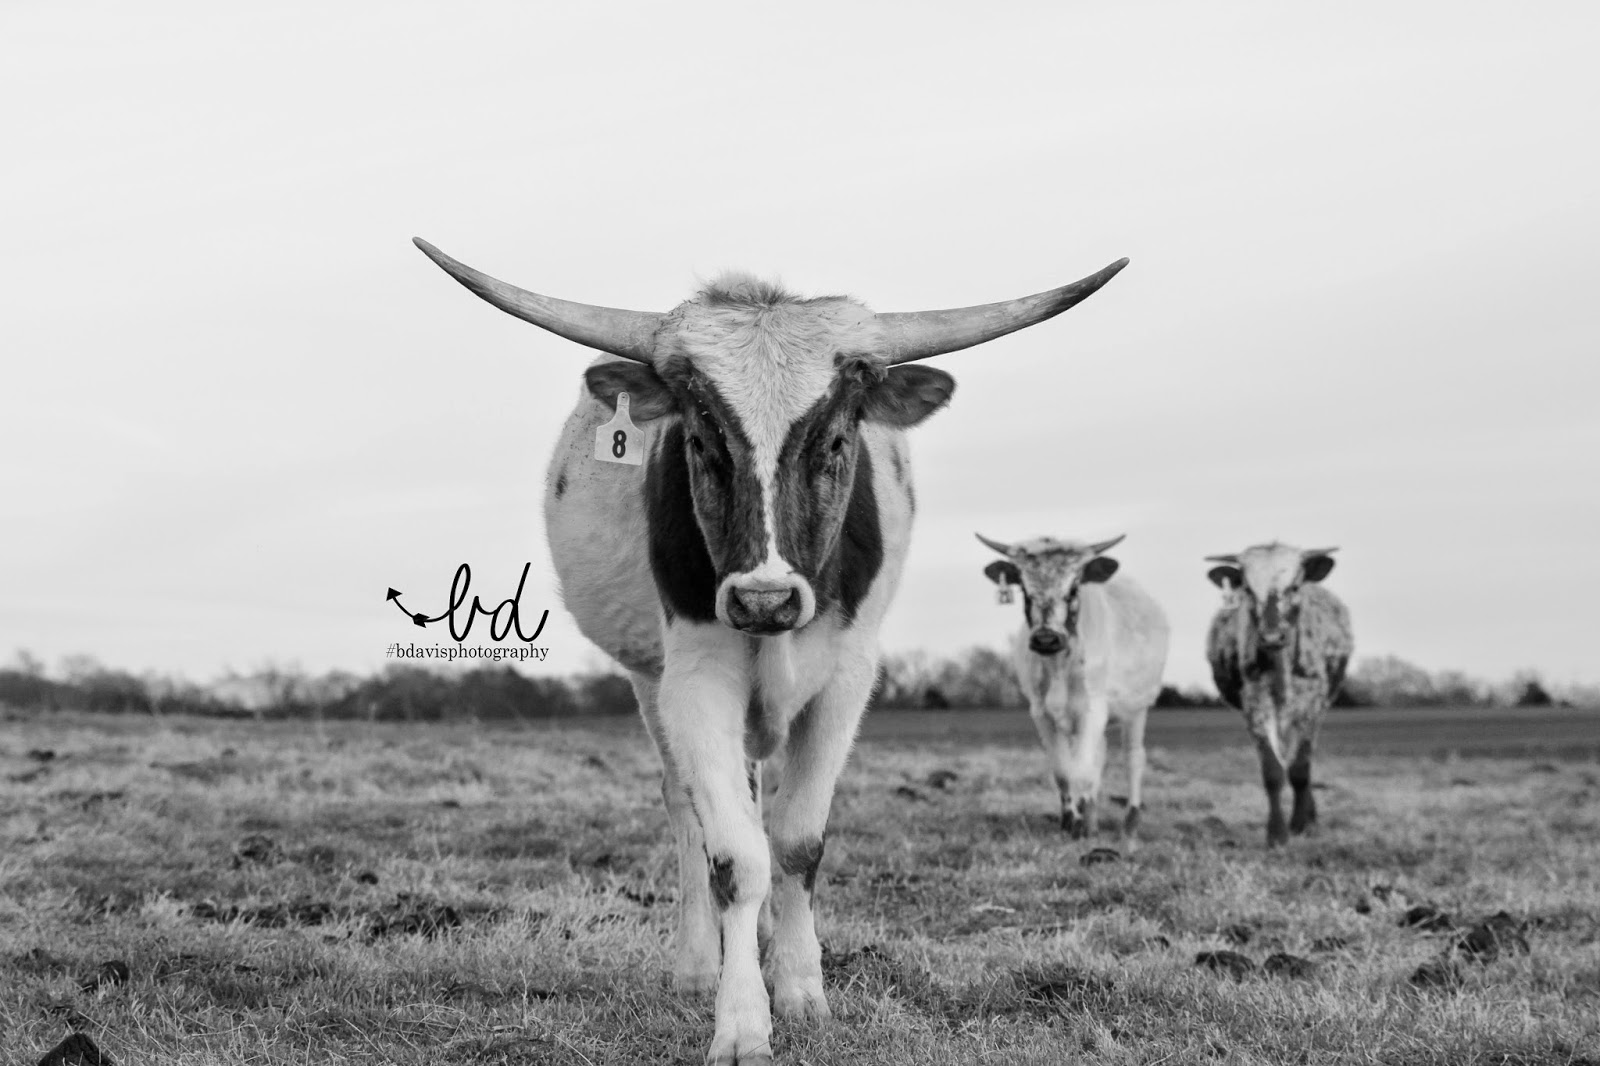
Project 365 is going well. It is getting a little harder than I had imaged. I knew my life wasn't that interesting to start with, but most weeks it is like "dang" and I don't think 365 pictures of the bank would be that interesting. haha The creative side of project 365 has been fun. My photos have primarily been revolved around agriculture (which shouldn't be much of a surprise) but I have been trying to throw in a couple of different things as well, just to spice it up! Hopefully the summer will be a little more exciting with weekend trips, etc... like a weekend day trip to Texas for the Blue Bonnet Festival! (I posted a few of my favorites images below!)
Budgeting is getting increasingly harder. It is quite ridiculous really. I was doing so good at the first of the year and then stupid things like new tires and plumbing problems and other random things happened that all the good I had been doing was for nothing! haha So, now I have tried to come up a better system. Envelopes worked well for the things I had allocated money for, so now I have decided that EVERYTHING needs an envelope. One for Lucy, one for cars, one for house, one for clothes, makeup/hair supplies, hair cuts/nails... literally everything. Some call me crazy, but I call it smart... a little hard to find things in my wallet due to the million envelopes, but smart nevertheless!
Hopefully your "New Year To-Do List" has been going well too! If not, it is only April so there is always time for something new. In May I am planning new monthly challenges! I have done something similar to this before, but never had a blog to write about it so this should be fun! I think in May I am going to be a vegetarian for the month! I did it once back in 2010, but it was due primarily to the fact that I was pretty poor and only could afford bread and peanut butter, so "vegetarian for a month" was a better excuse! ha
Keep in touch, friends!
Peace, Love and Frilly Farm,
Bdavis


 I sat down in my crafting room aka my living room floor to try to figure out how to make this work. I had seen many things on Pinterest that made for cute toppers, but nothing that seemed as easy as what I was looking for so, this is what I came up with!
 4. String it-- I cut the string a little longer than what I thought I was going to need in case I needed to make adjustments later. It actually ended up being a good idea seeing as how I definitely underestimated this part!
 5. Tape it-- After I laid the string out between the folds of the triangles, I taped them together to secure it! They are still loose enough to move so you can adjust them once they are placed on the cake to make sure they are even, centered, etc.